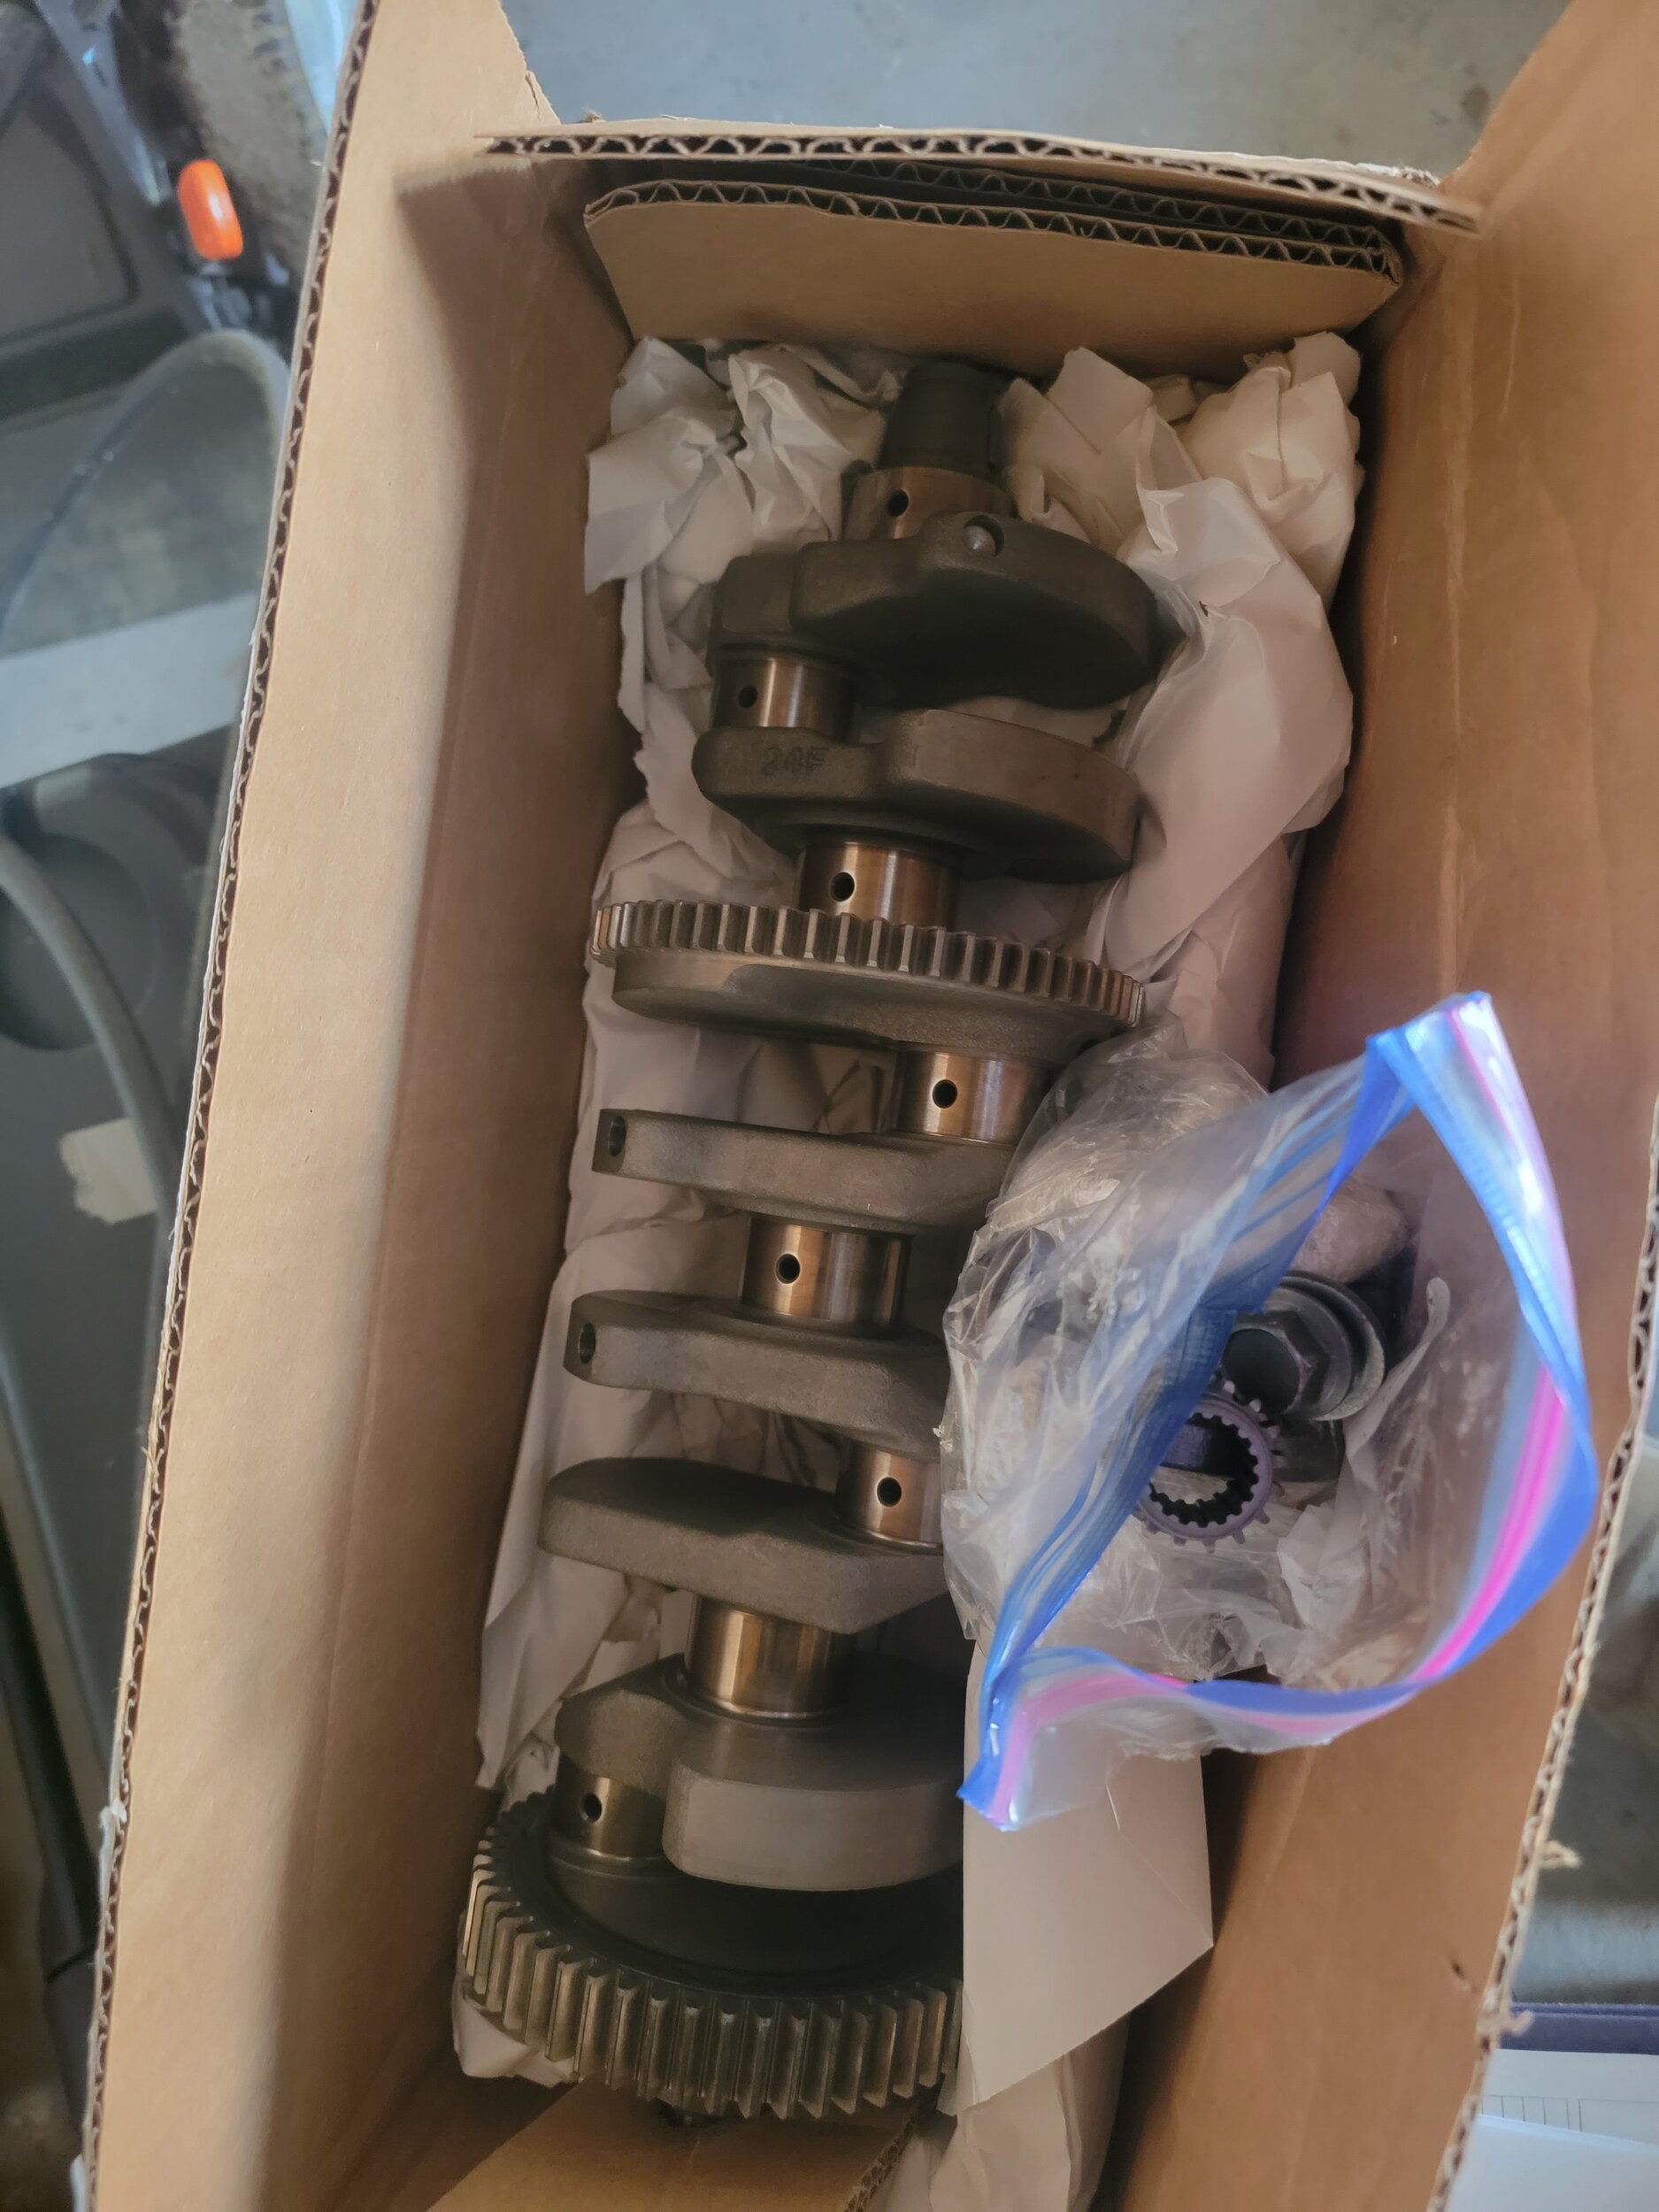
So got an 03 busa for a steal of a deal, found out it had a spun bearing, tore the whole motor apart, got the new crank already, and new connecting rods on the way. Next couple steps I'm just a little curious as to how to get the correct color coded bearings for the main bearings and connecting rod bearings. I got the plastigage for the project already. My question is, do I use an old decent bearing to measure the clearance? Or do I use just the crank and case to measure it with no bearing and subtract the differences? Or third option, do I use an internal Guage to measure the rods and mains and subtract those numbers, and obviously divide by 2 because 2 parts of the bearings make a whole. Just need a little push in the right direction. Any helps appreciated
You are using an out of date browser. It may not display this or other websites correctly.
You should upgrade or use an alternative browser.
You should upgrade or use an alternative browser.
Connecting rod/main bearings
- Thread starter BEERMONEY
- Start date
More options
Meta tagsBerlin Germany
Registered
@BEERMONEY
look here at the org for the gen3 - manual
and its download link
it should be available sw. here
then look/read and you´ll find the lil table of bearing-colors
look here at the org for the gen3 - manual
and its download link
it should be available sw. here
then look/read and you´ll find the lil table of bearing-colors

202mphbusa
Registered
Yeah I have been avoiding this post 
I use a bore gauge on the cases and rods
Micrometer on main and rod journals
then Do the math
then install bearings and torque rod or case remeasure with bore gauge to double check my dimensions and math
that said the last four rebuilds I really only needed to replace the bearings once
when I got coolant in my oil and ran it too much without noticing (bad antifreeze tester and a VERY cold winter)
Yeah I have been avoiding this post
I use a bore gauge on the cases and rods
Micrometer on main and rod journals
then Do the math
then install bearings and torque rod or case remeasure with bore gauge to double check my dimensions and math
that said the last four rebuilds I really only needed to replace the bearings once
when I got coolant in my oil and ran it too much without noticing (bad antifreeze tester and a VERY cold winter)
This^
Much more accurate than plasti-gage.
Okay, but should I order one of each bearing? I got the internal bore Guage coming to mic them all out with. Do I just take the measurements of them without any bearing internally, and then mic the cranks subtract the small number from bigger and divide by 2 to find the correct color coded bearing? I'm basically trying to figure out what I have to measure and subtract and how, to get the correct bearings for the new connecting rods and the main bearingsYeah I have been avoiding this post
I use a bore gauge on the cases and rods
Micrometer on main and rod journals
then Do the math
then install bearings and torque rod or case remeasure with bore gauge to double check my dimensions and math
that said the last four rebuilds I really only needed to replace the bearings once
when I got coolant in my oil and ran it too much without noticing (bad antifreeze tester and a VERY cold winter)
202mphbusa
Registered
Out to dinner. Will type a proper response in a bitOkay, but should I order one of each bearing? I got the internal bore Guage coming to mic them all out with. Do I just take the measurements of them without any bearing internally, and then mic the cranks subtract the small number from bigger and divide by 2 to find the correct color coded bearing? I'm basically trying to figure out what I have to measure and subtract and how, to get the correct bearings for the new connecting rods and the main bearings
Rod and main journal diameters on crank determine bearing size.
Stock size, or first or second oversize, what do the crank and rods measure vs the service manual specs, and if the crank needs polished or turned(as would the bores need honed or bored)
and will require a new size bearing.
Or, your engine may be in good shape, and no machine work is needed, just the same size as the current bearings(and rings).
Just something to think about until
@202mphbusa is done with dinner
lol
202mphbusa
Registered
So got an 03 busa for a steal of a deal, found out it had a spun bearing, tore the whole motor apart, got the new crank already, and new connecting rods on the way. Next couple steps I'm just a little curious as to how to get the correct color coded bearings for the main bearings and connecting rod bearings. I got the plastigage for the project already. My question is, do I use an old decent bearing to measure the clearance? Or do I use just the crank and case to measure it with no bearing and subtract the differences? Or third option, do I use an internal Guage to measure the rods and mains and subtract those numbers, and obviously divide by 2 because 2 parts of the bearings make a whole. Just need a little push in the right direction. Any helps appreciated
Start with the easy parts
Do you have a "tenths" reading micrometer? and a tenths reading bore gauge
If not this just got easier
If you do have them
Measure the main crank pins in a few spots around each Main journals then rod throws find the average to the tenth
Then assemble the rods torqued to spec and measure them all around with a ACCURATE bore gauge, this is the hardest part. my Mitotyo Bore gauge cost a grand and takes some practice to use like most bore gauges are a skill
Subtract the large Bore ID from the Main or rod that will go there
that will give you a number
Subtract two times the shell thickness of each of the available shell thickness
see which one/ones give the closest to desired clearance
I then reassemble and torque with those bearings and recheck the Bore ID numbers
and redo math
then Not on my motor cause I have done this motor 3-4 times plastigauge
NOW if you don't have or don't want to buy micrometers and Bore gauges
You changed the Crank there are codes on the crank for the sizes, and the cases have them also
Use the charts in the manual to order a set of bearings and plastigauge them
I just have struggled with plastiguge in the past not rotating the crank with it in place
michael parris heuberger
Registered
Hi. In the long run I think you send out the motor to a know builder who has done this many many times I have built a lot of small and big block chevy motors and a few bikes. For my race busa I am having Harries Machined Parts Do my motor as this would be my 1st bisa and I have a lot of money in crank rods pistons block work other parts over $7,000.00.Start with the easy parts
Do you have a "tenths" reading micrometer? and a tenths reading bore gauge
If not this just got easier
If you do have them
Measure the main crank pins in a few spots around each Main journals then rod throws find the average to the tenth
Then assemble the rods torqued to spec and measure them all around with a ACCURATE bore gauge, this is the hardest part. my Mitotyo Bore gauge cost a grand and takes some practice to use like most bore gauges are a skill
Subtract the large Bore ID from the Main or rod that will go there
that will give you a number
Subtract two times the shell thickness of each of the available shell thickness
see which one/ones give the closest to desired clearance
View attachment 1667275
I then reassemble and torque with those bearings and recheck the Bore ID numbers
and redo math
then Not on my motor cause I have done this motor 3-4 times plastigauge
NOW if you don't have or don't want to buy micrometers and Bore gauges
You changed the Crank there are codes on the crank for the sizes, and the cases have them also
Use the charts in the manual to order a set of bearings and plastigauge them
I just have struggled with plastiguge in the past not rotating the crank with it in place
View attachment 1667276
View attachment 1667274
Berlin Germany
Registered
@202mphbusa
"a "tenths" reading micrometer? "
man that´s not exact enough .
the micrometer should be able to read ´n show 1/100 millimeters !!! at a minimum
read the values (4 digits behind the komma) above in the tables - to measure them correctly a 1/10 000 (10 thousand) micrometer is necessary
but those only nasa or equals will have .
.
so to come a bit nearer to those values one should have a 1/1000 (thousand)
or the easiest "plastic gauges" - this is axp. the most exact measuring able with usual money invest.
a 1/1000 (0.001) mm "mitutoyo" 0-25mm micrometer costs around 204 €uro + p´n p
see - here
what is even more important is the roughness of the bearing aereas on the crankshaft.
if they are not as smooth as mirrorglass but have grooves / running tracks, they should at least be polished or even ground and polished, which then usually makes the costs for a new crankshaft necessary,
because as far as I know, there are no oversized bearing shells which could compensate 1/10 or more mm (millimeter).
and another very serious question
the heck,
are we writing about a gen3 ???
how can the bearing shells be so defective after an assumed milage of 20 or 30,000 km that one thinks about replacing the bearing shells?
never changed the oil or poured sand/dust into the gearbox?
"a "tenths" reading micrometer? "
man that´s not exact enough .
the micrometer should be able to read ´n show 1/100 millimeters !!! at a minimum
read the values (4 digits behind the komma) above in the tables - to measure them correctly a 1/10 000 (10 thousand) micrometer is necessary
but those only nasa or equals will have
 .
.so to come a bit nearer to those values one should have a 1/1000 (thousand)
or the easiest "plastic gauges" - this is axp. the most exact measuring able with usual money invest.
a 1/1000 (0.001) mm "mitutoyo" 0-25mm micrometer costs around 204 €uro + p´n p
see - here
what is even more important is the roughness of the bearing aereas on the crankshaft.
if they are not as smooth as mirrorglass but have grooves / running tracks, they should at least be polished or even ground and polished, which then usually makes the costs for a new crankshaft necessary,
because as far as I know, there are no oversized bearing shells which could compensate 1/10 or more mm (millimeter).
and another very serious question
the heck,
are we writing about a gen3 ???
how can the bearing shells be so defective after an assumed milage of 20 or 30,000 km that one thinks about replacing the bearing shells?
never changed the oil or poured sand/dust into the gearbox?
202mphbusa
Registered
a tens reading micrometer reads to .0001 of a inch
He is not talking about a gen3 it is a 2003
He is not talking about a gen3 it is a 2003
202mphbusa
Registered
Tens should read "tenths"
in USA machining
1.5464 inch in any shop I have worked in would call that "one inch five hundred forty six and four tenths"
in USA machining
1.5464 inch in any shop I have worked in would call that "one inch five hundred forty six and four tenths"
.0000"
4 places out is nearly impossible to achieve without a professional quality lab.
You can hold a part in your hand for 20-30 seconds and change the reading, and
it will changes with air temperature variances.
Also, me, you, and the next person will Not get the same reading on a micrometer 4 places out, even a mic with a clutch on it.
The measurement is So Small that it is very difficult to check accurately with calipers or a micrometer.
Building an Indy Car? Yeah, tight tolerances...but the equipment to do so.
Building an engine in your garage?
Some tolerances need set based on experience and conditions, as said, you're Not Accurately checking 4 places out with a mic...it can only be a reference without controlled conditions and more precision measuring equipment.
Keep the 3rd decimal place closest to the low end of the 4th place when possible.
Or...just crank on or off the micrometer until it says what you want...as this is unfortunately what too many people do.
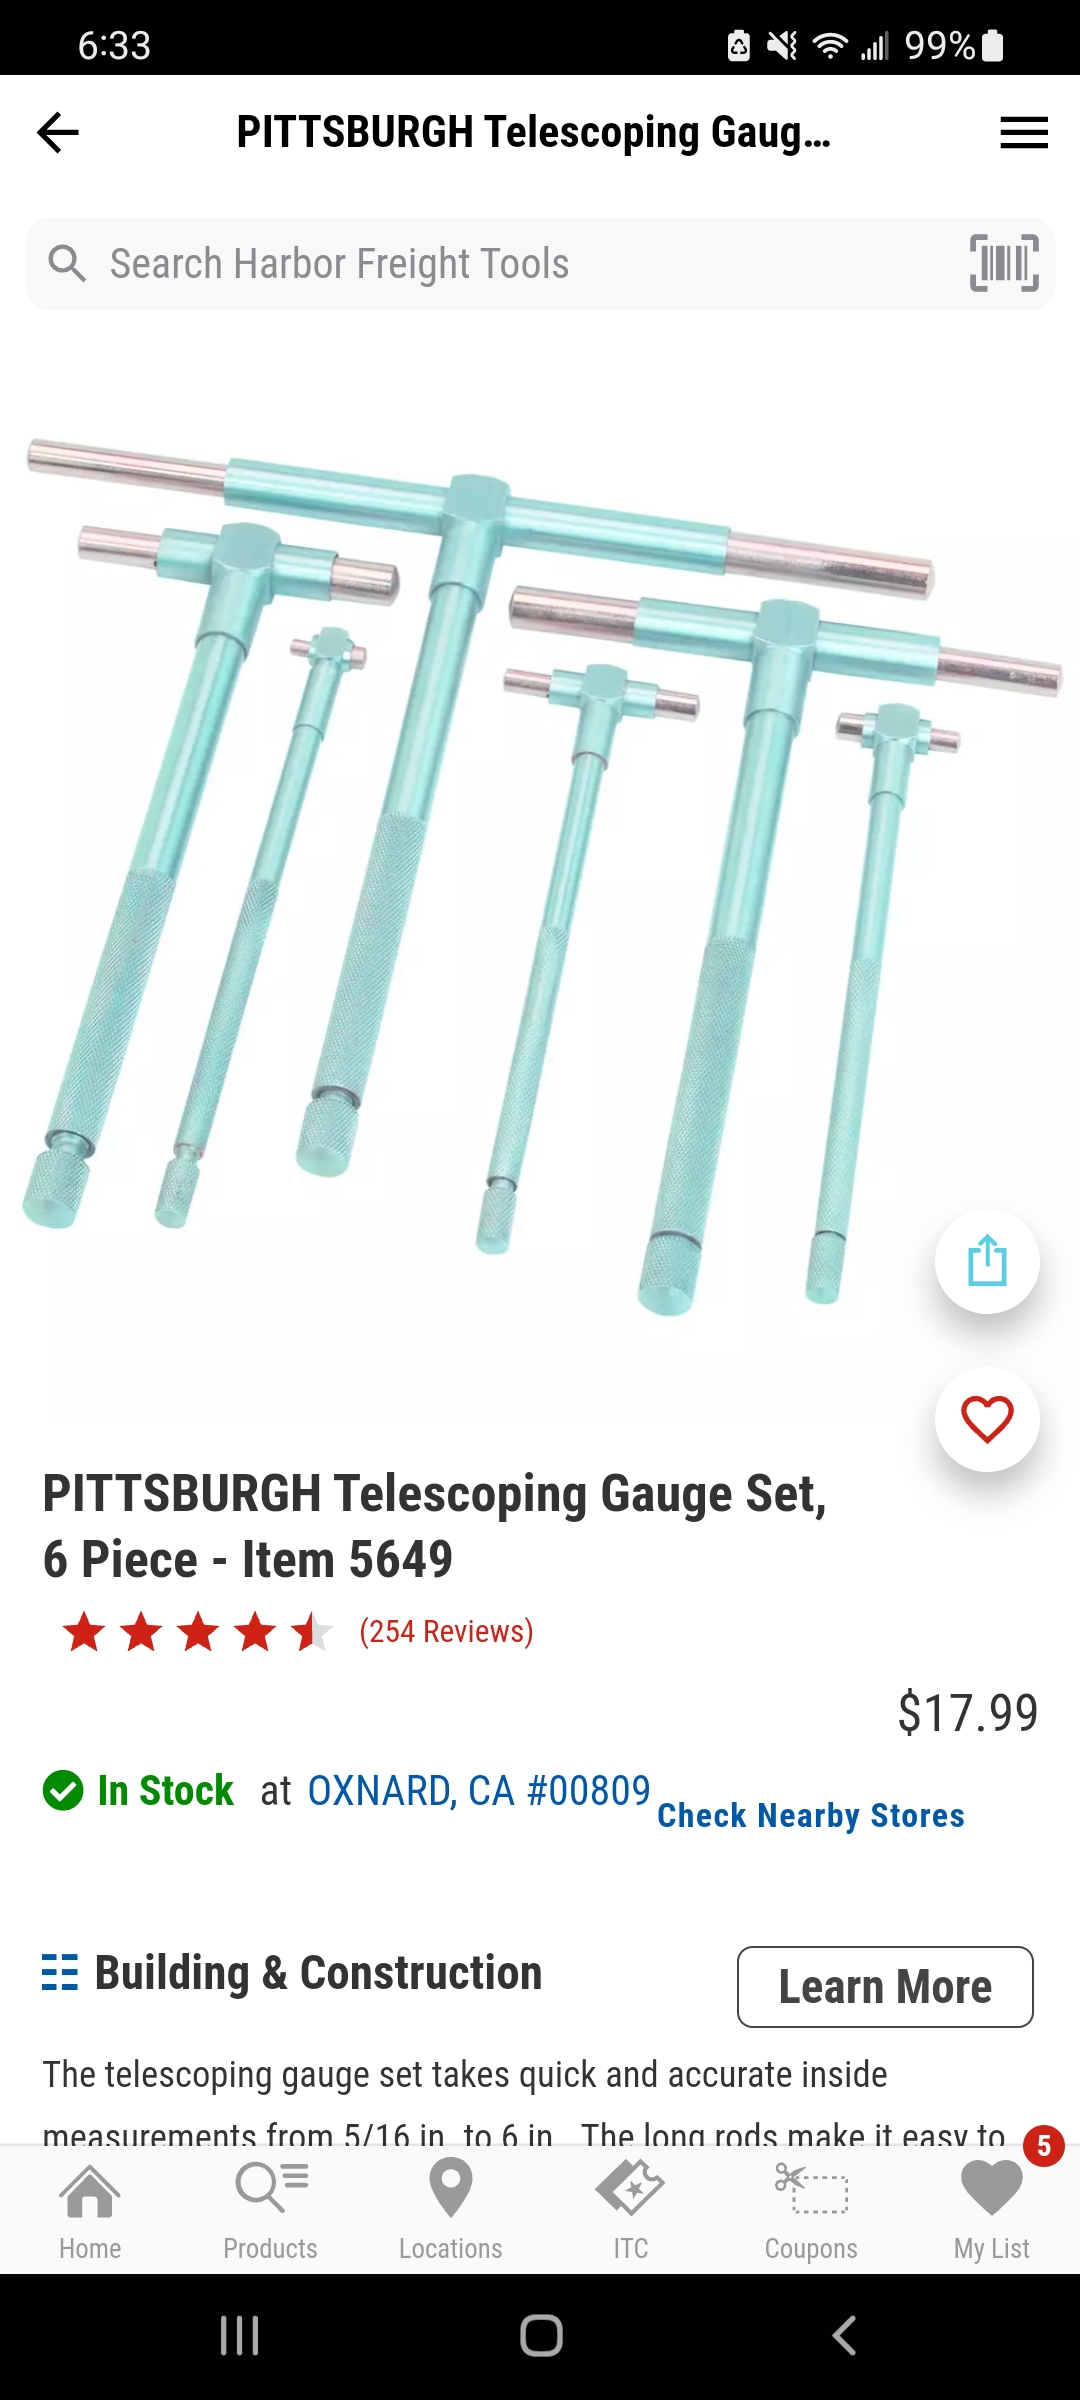
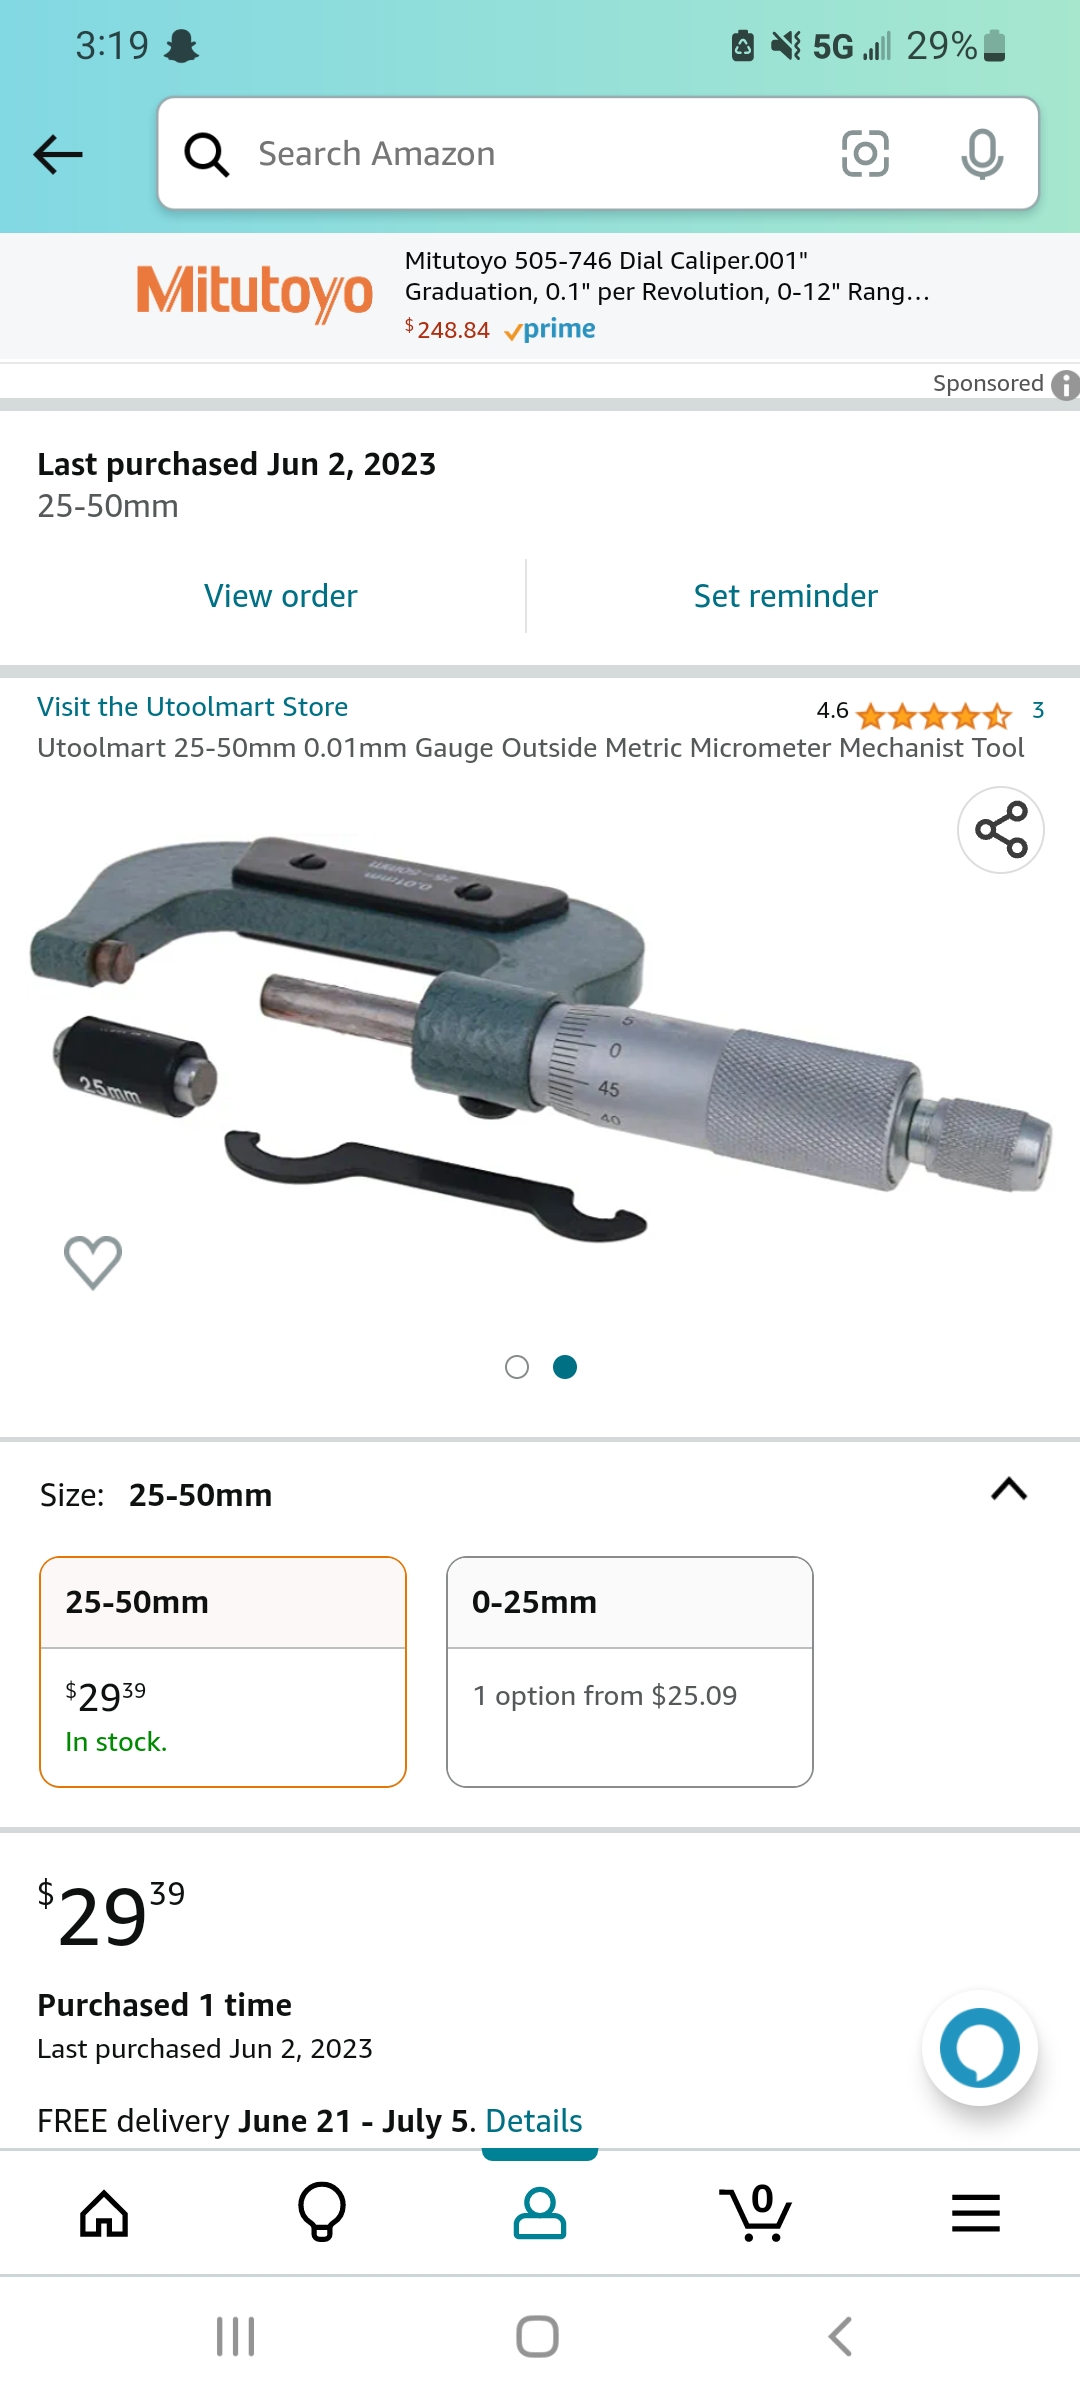
So these are the few tool items I went and grabbed and already have the plastiguage, waiting on the new oem connecting rods to come in. But I have a new crank I'm throwing in, they look pretty immaculate and the old one will be sent off to get done once the bikes running. As it was the crank that had the spun bearing, and let me tell you, that bearing was doubled up. Here's a few attached photos of it. @202mphbusa @Berlin Germany @sixpack577


202mphbusa
Registered
In CNC machining If a operator can not repeat a reading to .0001 INCH with a ratchet or friction thimble.0000"
4 places out is nearly impossible to achieve without a professional quality lab.
You can hold a part in your hand for 20-30 seconds and change the reading, and
it will changes with air temperature variances.
Also, me, you, and the next person will Not get the same reading on a micrometer 4 places out, even a mic with a clutch on it.
The measurement is So Small that it is very difficult to check accurately with calipers or a micrometer.
Building an Indy Car? Yeah, tight tolerances...but the equipment to do so.
Building an engine in your garage?
Some tolerances need set based on experience and conditions, as said, you're Not Accurately checking 4 places out with a mic...it can only be a reference without controlled conditions and more precision measuring equipment.
Keep the 3rd decimal place closest to the low end of the 4th place when possible.
Or...just crank on or off the micrometer until it says what you want...as this is unfortunately what too many people do.
We call them 1-20's one year of experience twenty times over
Not twenty years of experience once
202mphbusa
Registered
AND THIS IS WHY I WAS AVOIDING THIS POSTYeah I have been avoiding this post
I use a bore gauge on the cases and rods
Micrometer on main and rod journals
then Do the math
then install bearings and torque rod or case remeasure with bore gauge to double check my dimensions and math
that said the last four rebuilds I really only needed to replace the bearings once
when I got coolant in my oil and ran it too much without noticing (bad antifreeze tester and a VERY cold winter)

202mphbusa
Registered
my Bore gauge
Setting ring that I confirmed the 3.6001 measurement with my work CMM a few times
My Micrometer
Setting ring that I confirmed the 3.6001 measurement with my work CMM a few times
My Micrometer
202mphbusa
Registered
wrong Setting ring that one is for another Project
I have two others
one for rod ID an the other for Main Bore ID's
I will check part numbers when I get home
I have two others
one for rod ID an the other for Main Bore ID's
I will check part numbers when I get home
sportbikeryder
Registered
So these are the few tool items I went and grabbed and already have the plastiguage, waiting on the new oem connecting rods to come in. But I have a new crank I'm throwing in, they look pretty immaculate and the old one will be sent off to get done once the bikes running. As it was the crank that had the spun bearing, and let me tell you, that bearing was doubled up. Here's a few attached photos of it. @202mphbusa @Berlin Germany @sixpack577
View attachment 1667390
View attachment 1667391
View attachment 1667392
View attachment 1667393
View attachment 1667394
Don't measure anything with those and just use the codes on the cases, rods, and crank.
Berlin Germany
Registered
jo mana tens reading micrometer reads to .0001 of a inch
I AM writing about milli meter micrometers - you about inch micros.
I pers. would only use the mm - tools to measure at mm-built machines like the japs.
would make it easy to find fitting pieces - like the shims that only have mm labelings even in the us ? guess so
Similar threads
- Replies
- 7
- Views
- 1,828
- Replies
- 4
- Views
- 3,824

